What to Expect During a Professional Roof Installation
Roof Installation is a major project that affects the safety, comfort, and value of a home. Roof Installation planning helps homeowners understand the sequence of work, the materials involved, and the time required to complete the project correctly. When people understand what happens during Roof Installation, they can prepare their property, communicate better with roofing contractors, and avoid unnecessary stress during the work.
A professional approach follows a clear roof installation process that begins with inspection and ends with final cleanup and inspection. Knowing this journey in advance helps homeowners set realistic expectations about noise, timelines, material delivery, and daily progress.
Initial Inspection and Project Planning
Before any materials arrive, contractors perform a thorough inspection of the existing roof. This evaluation identifies structural concerns, ventilation issues, water damage, and areas that need repair before new materials are placed. The inspection also allows the team to estimate the new roof timeline based on size, slope, and weather conditions.
During this stage, homeowners discuss material options, color choices, ventilation upgrades, and underlayment preferences. Clear communication at this point prevents misunderstandings later in the project.
For homeowners looking to understand regional considerations and professional standards, resources like 84 Roofing provide useful background on how experienced teams plan projects before work begins.
Preparing the Property Before Work Starts
Preparation is an important part of the roof replacement steps. Contractors typically ask homeowners to move vehicles, cover items in the attic, and clear the perimeter around the house. Vibrations from hammering can travel through walls and ceilings, so securing fragile items inside the home is recommended.
Dumpsters, safety barriers, and material deliveries are arranged before the first day of work. This ensures the crew can begin without delays.
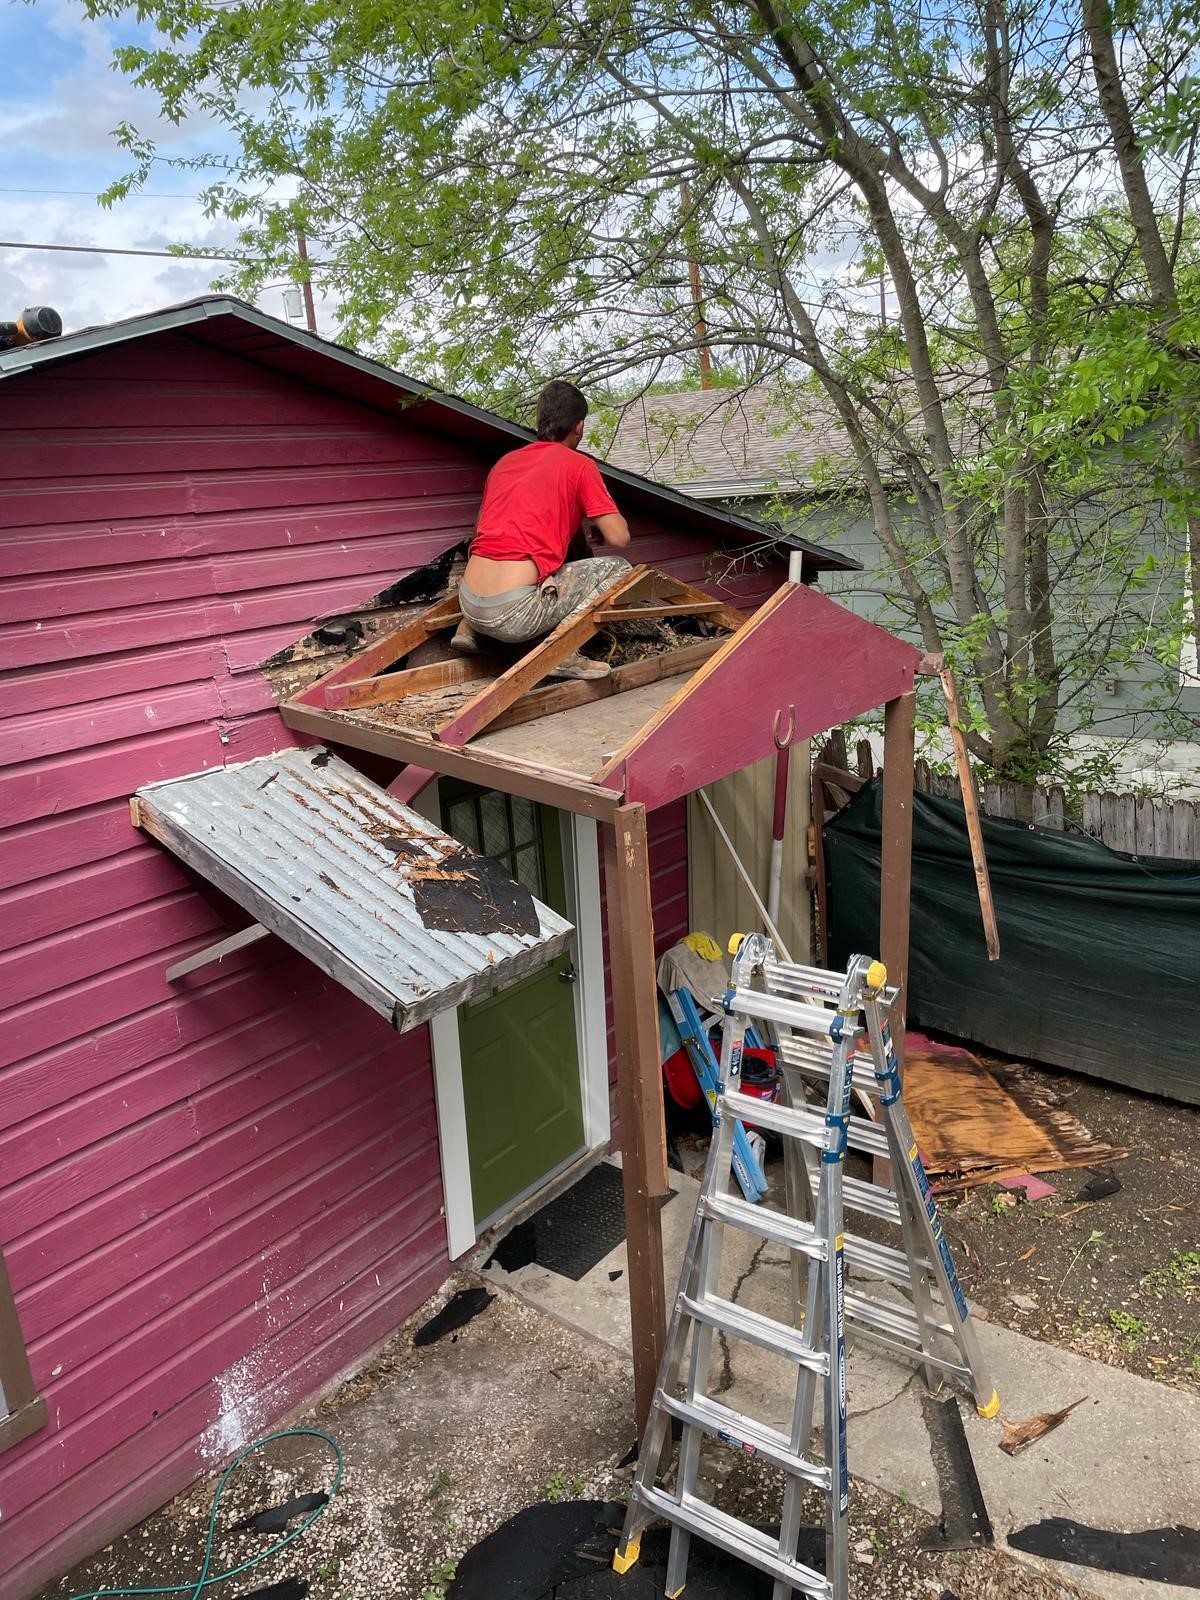
Removing the Old Roofing Materials
The first visible stage of the project is the removal of old shingles or tiles. This step reveals the roof deck underneath and allows contractors to check for hidden damage. Any rotted wood, weakened boards, or moisture issues are corrected before the new system is installed.
This phase can be noisy and messy, but it is necessary for a long lasting result. Homeowners often notice a significant amount of debris during this step, which is why protective tarps are placed around the property.
Inspecting and Repairing the Roof Deck
Once the old materials are removed, the roof deck becomes fully visible. Contractors inspect it carefully to ensure it can support the new roofing system. Damaged areas are replaced, and any structural weaknesses are addressed.
This stage plays a major role in the durability of the finished roof because even the best materials cannot perform well on a compromised base.
Installing Underlayment and Weather Barriers
After deck repairs, crews install underlayment which acts as a protective layer between the deck and the shingles. Ice and water shields are applied in vulnerable areas such as valleys and edges. These barriers prevent moisture from entering the structure during heavy rain or wind driven storms.
Understanding this part of the roof installation process helps homeowners see why professional work focuses on layers that are not visible after completion.
For homeowners researching local service standards and methods, reading about Roof Installation San Antonio practices can provide helpful insight into how climate influences installation techniques.
Installing the New Roofing Materials
This is the stage where the roof begins to look complete. Shingles, tiles, or metal panels are installed carefully in a specific pattern that ensures proper water runoff and wind resistance. Flashing is added around chimneys, vents, and skylights to prevent leaks.
This part of the new roof timeline depends heavily on roof size and material type. Larger or steeper roofs require more time and precision.
Ventilation and Finishing Details
Proper ventilation is essential for extending roof life. Ridge vents, soffit vents, and exhaust systems are checked or installed to regulate attic temperature and moisture levels. Without proper ventilation, even a newly installed roof can face early wear.
Contractors also focus on sealing edges, securing flashing, and aligning shingles for a uniform finish.
Cleanup and Final Inspection
After installation, crews remove debris, nails, and leftover materials from the property. Magnetic tools are often used to collect small metal pieces from the yard and driveway.
A final walk through ensures all roof replacement steps were completed correctly. Homeowners are invited to inspect the work and ask questions before the project is officially closed.
Final inspection includes checking flashing, edges, and ventilation points to ensure everything is sealed and aligned correctly for long term performance.
Cleanup extends beyond visible debris and includes careful scanning of lawns and surrounding areas for nails and sharp materials that may have fallen during work.
What Homeowners Experience During the Project
Homeowners should expect noise during working hours, limited driveway access, and occasional vibrations inside the house. Pets and children may need to be kept indoors for safety. Communication with roofing contractors throughout the project helps manage expectations and address concerns quickly.
Understanding these daily realities makes the experience far less stressful.
Common Concerns During Installation
How long will the project take
Most residential roofs are completed within a few days depending on size and weather conditions.
What happens if it rains during the project
Contractors monitor weather forecasts and use protective coverings if unexpected rain occurs.
Will landscaping be affected
Protective tarps and careful cleanup reduce the risk of damage to plants and outdoor areas.
Addressing Issues After Installation
Even after completion, homeowners should know who to contact if they notice issues such as minor leaks or loose materials. Learning about services like roof leak repair helps homeowners understand how post installation concerns are handled quickly and professionally.
For any questions after the project or to seek clarification, homeowners can always reach out through the contact us page for guidance.
Conclusion
A professional roofing project follows a clear and organized path from inspection to final cleanup. Understanding the roof installation process, the new roof timeline, and the roof replacement steps helps homeowners prepare their property and set realistic expectations. When each stage is completed carefully, the result is a durable roof that protects the home for many years.
FAQ
1. How do I prepare my home before roofing work starts?
Clear the perimeter, protect attic items, and move vehicles away from the house.
2. How noisy is the process?
There is noticeable noise during removal and installation hours.
3. Can I stay at home during the project?
Yes, but be prepared for vibrations and limited access around the property.
4. What if hidden damage is found?
Contractors repair the roof deck before continuing installation.
5. How do I know the work is completed correctly?
A final inspection and walk through are performed before project closure.
